For anyone dealing with machinery or tools, accurately measuring the gap between two components is crucial. Wondering how to read a feeler gauge?
To read and use a feeler gauge, first identify the gap you aim to measure. Select the blade stamped with the closest thickness, ensuring it’s clean. Insert it into the gap, feeling for slight resistance. If needed, combine blades for accurate thickness. Once determined, record the measurement. Handle with care, store properly, and maintain cleanliness for precision.
A feeler gauge is an essential tool designed to help you measure this clearance with precision.
This article will guide you through the easy steps of how to read a feeler gauge. So delve in and discover how simple it can be to use this handy instrument!
What is a Feeler Gauge?
A feeler gauge is a special tool to check gaps. It works for tiny spaces too! You can find the size of a gap between two parts with it. Many people use this in places like car shops and factories.
Its exact role is to make sure different pieces fit well together. This handy gadget helps keep machines running smooth by sharing precise measurements of gaps or spaces. Each blade on the feeler gauge stands for a different size, making it useful for many jobs.
So whether you’re working on cars or giant machines, this little tool makes sure all things go just right!
Steps to Read a Feeler Gauge
To read a feeler gauge, unfold the blades and select the appropriate leaf for measurement. Fold away other leaves, insert the gauge into the gap with a gentle touch, and check for accurate measurements.
Read on to learn more about using this precision measuring tool.
Unfolding the blades
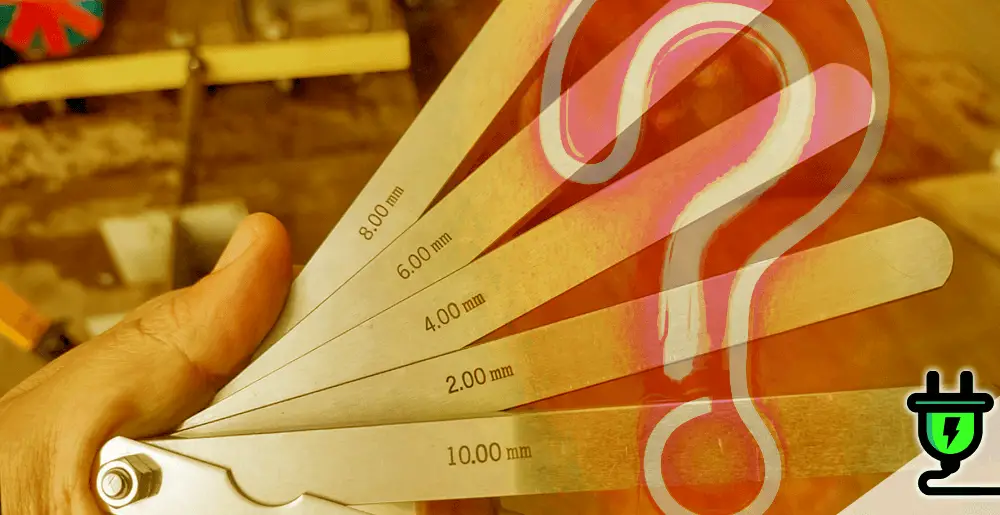
Feeler gauges are made up of multiple thin, flat metal blades that are stacked together. To read a feeler gauge, the first step is to unfold the blades. You need to carefully separate each blade from one another and make sure they are arranged in ascending order according to their thickness.
This ensures that you can easily select the appropriate leaf for your measurement needs. Unfolding the blades properly is crucial as it allows you to access and use the individual blades effectively when measuring gaps or clearances between parts.
Selecting the appropriate leaf
To select the appropriate leaf, unfold the blades of the feeler gauge. Look for a blade that is closest in thickness to the gap you need to measure or set. This ensures an accurate reading.
Once you have chosen the right blade, fold away the other leaves so they don’t interfere with your measurement. Insert the selected blade into the gap gently, making sure it fits snugly without applying too much force.
You can then check the gauge for your measurement and determine if adjustments are needed. Remember, selecting the correct leaf is crucial for getting precise readings with a feeler gauge.
Folding away other leaves
To read a feeler gauge accurately, it’s important to fold away the other leaves that you’re not using. Feeler gauges come with multiple blades of different thicknesses. So, when you’ve identified the blade that is closest in thickness to the gap you need to measure or set, gently fold back the remaining blades and hold them securely in place.
This will ensure that only the selected blade is inserted into the gap for an accurate measurement. By folding away other leaves, you can focus on getting precise readings without any interference from unnecessary blades.
Inserting the feeler gauge into the gap
To use a feeler gauge, you need to carefully insert it into the gap you want to measure or set. Start by unfolding the blades of the feeler gauge, making sure they are fully extended.
Then, select the blade that is closest in thickness to the size of the gap you’re measuring. Once you have chosen the right blade, gently fold away the other blades so that only one is remaining for measurement.
Next, insert this single blade into the gap between the two parts and make sure it fits snugly without applying too much force.
Finally, check where on the gauge’s edge it matches up with its opening to determine your measurement accurately.
Being gentle
When using a feeler gauge, it is important to be gentle. The blades of the gauge are delicate and can easily be damaged if you apply too much force. By being gentle, you can ensure that the blades remain in good condition and provide accurate measurements.
So when inserting the feeler gauge into the gap, remember to use a light touch and avoid any unnecessary pressure. By handling the feeler gauge with care, you can obtain precise readings and maintain its effectiveness for future use.
Checking the gauge for measurement
To check the measurement with a feeler gauge, you need to select the appropriate blade that is closest in thickness to the gap you want to measure. Carefully slide the selected blade into the gap and make sure it fits properly.
Be gentle while inserting it to avoid damaging either of the surfaces. Once inserted, observe how snugly or loosely the blade fits in the gap. This will give you an idea of the measurement or clearance between those two parts.
By using a feeler gauge correctly, you can ensure accurate measurements for proper fit and functionality of mechanical parts.
Tips for Using a Feeler Gauge
Ensure a proper friction fit by holding the gauge firmly against the surface being measured. Use a light touch to prevent bending or damaging the blades. Take multiple measurements from different angles for accuracy.
Ensuring a proper friction fit
To ensure a proper friction fit when using a feeler gauge, it is important to select the blade that fits snugly into the gap you are measuring. The blade should not be too loose or too tight.
This will help provide accurate measurements and prevent any errors. Additionally, when inserting the feeler gauge into the gap, make sure to do so with a gentle touch. Applying too much force can compress or distort the blades, leading to inaccurate readings.
By being cautious and ensuring a proper friction fit, you can rely on your feeler gauge to provide precise measurements for your mechanical needs.
Using a light touch
When using a feeler gauge, it is important to use a light touch. Applying too much force can lead to inaccurate readings and damage the blades of the gauge. By gently inserting the selected blade into the gap and allowing it to slide smoothly, you can ensure that you get an accurate measurement without causing any harm.
Remember, a feeler gauge is designed for precision, so treat it delicately to obtain reliable results.
Taking multiple measurements
To ensure accuracy when using a feeler gauge, it is recommended to take multiple measurements. This helps to confirm the consistency of the readings and reduce the chances of errors.
By sliding the appropriate blade into the gap and recording each measurement, you can compare them to see if they match. If there are slight variations, taking additional measurements will help determine an average value for better precision.
This process ensures that you get reliable results and can make more informed decisions based on your readings.
Common Mistakes to Avoid When Reading a Feeler Gauge
Applying too much force can lead to inaccurate measurements and damage the feeler gauge. Not ensuring a proper fit can also result in incorrect readings, so it is essential to choose the appropriate blade size for the gap being measured.
Applying too much force
When reading a feeler gauge, it’s important not to apply too much force. Pushing too hard can cause inaccurate measurements and can even damage the gauge or the parts you’re measuring.
Remember, a feeler gauge is designed to measure gaps with precision, so gentle pressure is all that’s needed. Applying too much force can compress the blades and give you incorrect readings.
To ensure accurate measurements, use a light touch when sliding the selected blade into the gap and avoid using excessive force throughout the process. By being careful and gentle with your movements, you’ll get more reliable results from your feeler gauge.
Not ensuring a proper fit
To get accurate measurements when using a feeler gauge, it’s important to make sure that you have a proper fit. This means selecting the blade that is closest in thickness to the gap you need to measure or set.
If the blade is too thick or too thin, you won’t get an accurate reading. The selected blade should slide into the gap with some resistance but not be too tight or loose. By ensuring a proper fit, you can trust that your measurements are precise and reliable for whatever mechanical task you’re working on.
How to read a feeler gauge FAQs
What is a feeler gauge used for?
A feeler gauge is used to measure the gap or clearance between two parts or surfaces.
How do I read a feeler gauge?
To read a feeler gauge, insert the thin blade into the gap and slide it back and forth. The measurement is determined by the blade that fits snugly without being too tight or loose.
Can I use any feeler gauge for all measurements?
No, different jobs may require different thicknesses of blades. It’s important to select the appropriate blade size based on the specifications provided in your manual or guidelines.
Are there any tips for using a feeler gauge accurately?
For accurate readings, ensure that the blades are clean and free from debris, hold them perpendicular to the surface being measured, and always check multiple points if possible to ensure consistency.
Conclusion: How to read a feeler gauge
Reading a feeler gauge is a simple yet important skill for anyone working with mechanical instruments. By following the steps and tips outlined in this article, you can confidently measure gap widths and ensure precise fits for your projects.
So go ahead, unfold those blades, select the right leaf, and read those measurements like a pro!